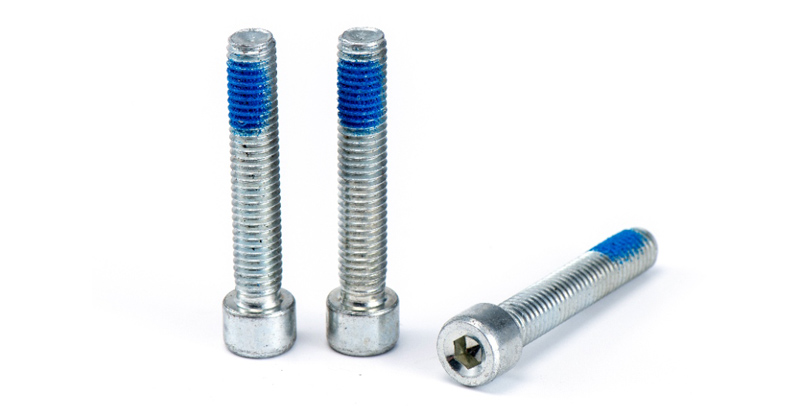
Socket cap Screws, also known as Cup Head Hexagon Socket Screws, are widely used in various applications due to their strength and versatility. Proper installation is crucial to ensure that these Screws perform effectively and maintain the integrity of the assembled components. Here are some best practices for installing socket cap Screws safely and effectively.

1. Select the Right Size and Type
Before installation, ensure that you have the correct size and type of socket cap screw for your application. Check the diameter, length, and thread pitch to match the specifications required for your project. Using the wrong size can lead to inadequate fastening or damage to the materials being joined.
2. Use the Appropriate Hex Key
Always use the correct size hex key (Allen wrench) that matches the socket of the screw. A snug fit between the hex key and the screw socket is essential to prevent rounding off the edges of the screw, which can make removal difficult and compromise its holding power.
3. Prepare the Materials
Ensure that the materials you are fastening are clean and free from debris, dust, and contaminants. Any foreign particles can interfere with the connection and lead to a weakened joint. If necessary, pre-drill holes in harder materials to facilitate easier installation and prevent splitting.
4. Align Components Properly
Align the components being joined before inserting the socket cap screw. Misalignment can create stress points that lead to failure. Ensure that the holes are correctly aligned and that the components are securely positioned.
5. Hand Tighten First
Insert the socket cap screw and hand-tighten it to ensure proper alignment. This allows for adjustments to be made before applying any tools. Avoid using power tools at this stage to prevent over-tightening or cross-threading.
6. Apply the Right Torque
Use a torque wrench to tighten the screw to the manufacturer’s specified torque value. Over-tightening can lead to stripping the threads, damaging the screw, or breaking the component. Conversely, under-tightening can result in a loose connection, leading to failure.
7. Use Thread Locking Compounds
For applications subject to vibration or dynamic loads, consider using thread locking compounds, such as Loctite, to prevent loosening over time. Apply the compound according to the manufacturer’s instructions to ensure effective bonding.
8. Inspect the Installation
After installation, visually inspect the socket cap screws to ensure they are properly seated and tightened. Look for any signs of misalignment or damage to the screw or materials. Regular inspections during maintenance can help catch issues early.
9. Consider the Environment
Take into account the operating environment of your installation. For applications exposed to moisture, chemicals, or extreme temperatures, choose socket cap screws with appropriate corrosion-resistant coatings to prolong their lifespan.
10. Practice Safety Measures
Always wear appropriate personal protective equipment (PPE) when installing socket cap screws, including safety goggles and gloves. Be mindful of your surroundings to avoid accidents, especially when working with power tools.
Installing socket cap screws correctly is essential for ensuring the strength and reliability of your assemblies. By following these best practices, you can achieve secure and effective installations, prolonging the life of your components and enhancing overall safety. Whether in machinery, automotive applications, or construction, proper installation techniques will help you maximize the performance of socket cap screws in your projects.


